Cherry Pie Filling

Cherry pie filling, oh what a delightful treat! The moment you open a jar or whip up a batch, you’re met with the rich, sweet aroma of luscious cherries that instantly evokes fond memories of summer picnics or holiday festivities. This filling is not only versatile but captures the essence of cherries beautifully, providing that perfect balance of tartness and sweetness. Whether you’re preparing a classic pie, topping off your favorite ice cream, or even mixing it into your morning yogurt, this cherry pie filling stands out as a go-to recipe that brings joy to any occasion.
Table of Contents
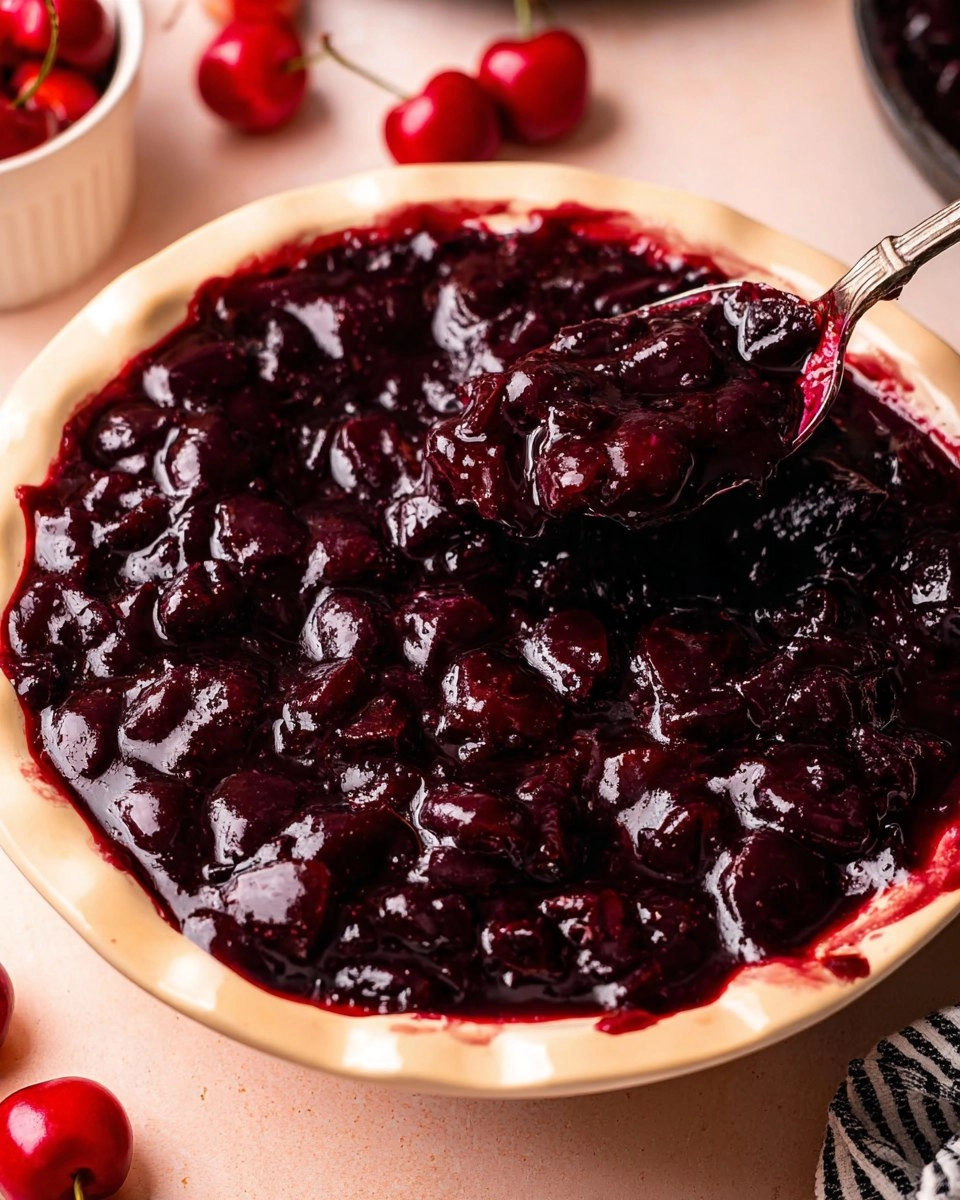
I still remember the first time I made homemade cherry pie filling. It was a warm afternoon, and our cherry tree had burdened us with a bountiful harvest. I gathered my family around, and together we pitted the cherries, laughing and sharing stories. Once cooked, the vibrant color and glossy finish of the filling had everyone eager to taste. Homemade cherry pie filling is an experience that will satisfy your cravings while providing a taste that goes above and beyond anything store-bought. Trust me, once you try it, you’ll want to make it again and again!
Why You’ll Love This Recipe
- Simple & Quick: With just a few fresh or frozen cherries, sugar, and cornstarch, you can make delicious cherry filling in under 30 minutes.
- Irresistible Flavor: Each bite bursts with sweet, slightly tart cherries, enhanced beautifully by a hint of almond extract.
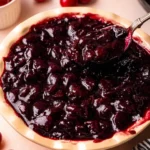
- Eye-Catching Appeal: The vibrant red color and glossy texture make it a stunning addition to any dessert.
- Flexible Serving: Perfect for pies, tarts, on top of pancakes, or simply spooned over yogurt for breakfast.
- Diet-Friendly Options: Easily adaptable, this can be made gluten-free and vegan by adjusting your pie crust or topping!
Ingredients You’ll Need
- 1 lb Cherries, fresh or frozen: Sweet cherries are excellent for this filling, giving you that rich, fruity flavor. If using frozen, ensure they’re thawed and drained well before cooking.
- 1/2 cup White granulated sugar: This sweetener brings the natural flavors of the cherries to life. If you prefer less sweetness, feel free to reduce the amount to 1/3 cup.
- 1 TBSP Cornstarch: Acting as a thickening agent, cornstarch gives your filling that desirable, nice texture. Alternatives include tapioca starch or arrowroot powder, though timing may slightly differ during cooking.
- 1 TBSP Water: Helps create a smooth blend when cooking the cherries and thickening agent together.
- 1/4 tsp Almond extract: This addition elevates the cherry taste and imparts a lovely fragrance. You can substitute with vanilla extract for a different flavor twist.
How to Make Cherry Pie Filling
- Prep the Cherries: If you’re using fresh cherries, start by pitting them. This task can be a bit time-consuming but is essential for a smooth filling. If they’re frozen, make sure they’re thawed.
- Mix the Ingredients: In a medium saucepan, combine the cherries, 1/2 cup white granulated sugar, 1 TBSP cornstarch, 1 TBSP water, and 1/4 tsp almond extract. Stir until everything is well mixed and the cherries are coated with sugar.
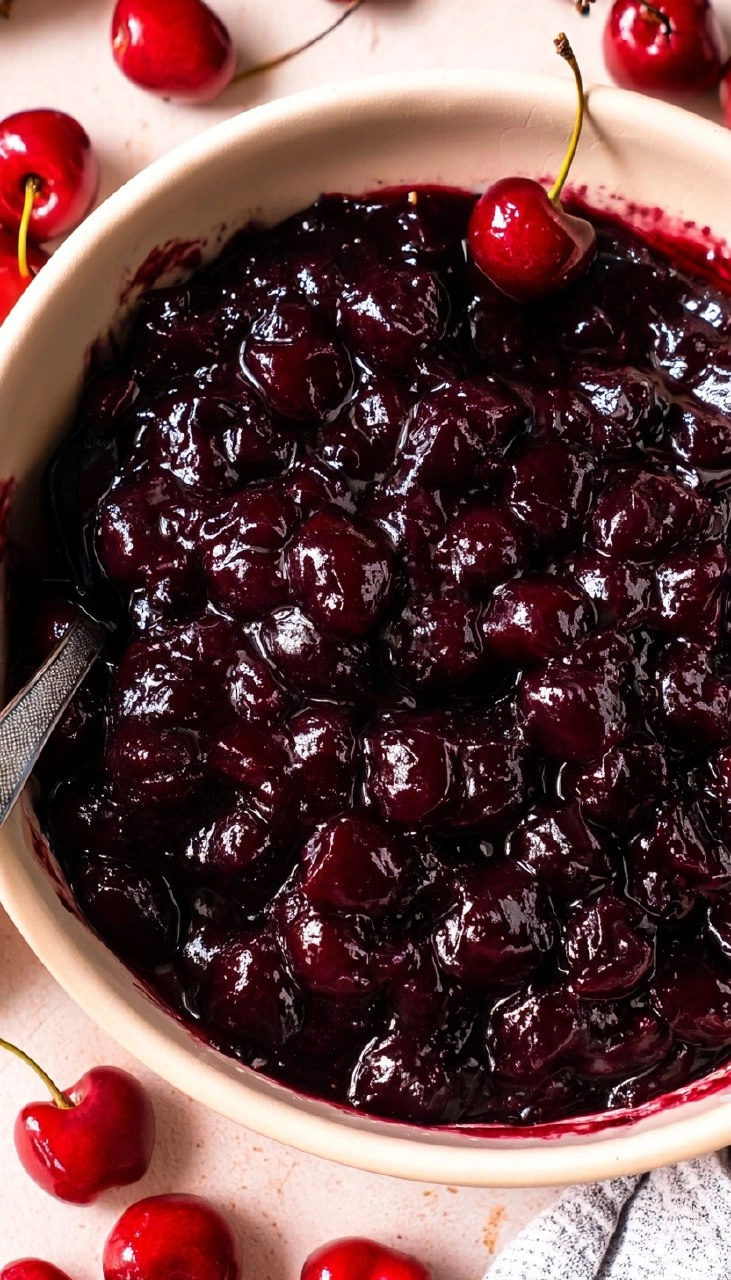
- Cook it Down: Set the saucepan over medium heat. As it heats, the juices from the cherries will begin to separate and the cherries will soften. This is the perfect time to use a potato masher. Mash them to your desired consistency — I prefer mashing all the cherries for a thicker compote-like texture.
- Thicken the Filling: Continue to cook the mixture until it thickens, which usually takes about 5-10 minutes. You’ll know it’s ready when the filling coats the back of a spoon and bubbles around the edges. Once thickened, remove from heat and let it cool.
- Chill: Pour the filling into a bowl and let it cool completely. If you’re in a hurry, pop it in the fridge for faster chilling.
Storing & Reheating
To store your cherry pie filling, let it cool completely before transferring it to an airtight container. At room temperature, it lasts about 2 days, but it’s best in the refrigerator for up to one week. If you have leftover filling, you can freeze it for up to 3 months. Just make sure to use a freezer-safe container, leaving some space for expansion. When you’re ready to enjoy it again, simply thaw in the fridge overnight and reheat gently over low heat on the stove, stirring occasionally. The flavors may deepen, and refreshing it with a touch of water or a splash of lemon juice can bring back some of its original vibrancy!
Chef’s Helpful Tips
- Avoid the pitfall of watery filling by ensuring all fresh cherries are pitted and, if using frozen, well-drained.
- To enhance the sweetness, consider adding a splash of lemon juice alongside the sugar for a bright contrast.
- If your filling seems too thick, whisk in a bit of water over low heat until it’s back to your desired consistency.
- For extra depth of flavor, try incorporating a pinch of cinnamon or nutmeg as the filling cooks.
- If making ahead, store in the fridge for convenience, and remember that the flavors meld beautifully when left to rest.
Cherry pie filling is such a treat that offers sweetness, nostalgia, and versatility. Whether you’re crafting a classic cherry pie, slathering it over pound cake, or simply enjoying it by the spoonful, it’s an experience that never disappoints. I encourage you to explore your creativity—there’s no wrong way to enjoy this cherry goodness! So, gather those fresh cherries (or grab the frozen ones) and get ready to whip up a batch that’ll have everyone coming back for seconds.
Recipe FAQs
Can I use frozen cherries instead of fresh?
Absolutely! Frozen cherries work wonderfully in this recipe. Just remember to thaw them first and drain any excess liquid to avoid a watery filling. The flavor will be just as delicious!
How long will homemade cherry pie filling last in the refrigerator?
Your homemade cherry pie filling can stay fresh in the refrigerator for about one week when stored in an airtight container. Just be sure to let it cool completely before sealing it up to maintain its best quality.
Can I make this filling ahead of time?
Yes, making cherry pie filling in advance is a great idea! You can prepare it ahead of time, store it in the fridge, or even freeze it. Just remember that the flavors will improve after a day, allowing them to meld together beautifully.
How should I thicken the filling if it’s too runny?
If your cherry pie filling is too runny, you can whisk an additional tablespoon of cornstarch with a bit of cold water to create a slurry. Bring your filling back to heat and stir in the slurry, cooking until it thickens.
PrintMore Desserts & Appetizers Recipes
- Homemade Cherry Crisp
- Caramel Apple Dump Cake
- Pineapple Pretzel Salad
- Cherry Hand Pies
- Easy Homemade Cherry Pie
Did You Enjoy Making This Recipe? Please rate this recipe with ⭐⭐⭐⭐⭐ or leave a comment.
📖 Recipe Card
Cherry Pie Filling
- Prep Time: 5 minutes
- Cook Time: 15 minutes
- Total Time: 20 minutes
- Yield: 1 1/2 cups 1x
- Category: Desserts & Appetizers
- Method: Stovetop
- Cuisine: American
Description
This Cherry Pie Filling boasts an irresistible flavor and simple prep, featuring fresh or frozen cherries, sugar, and a hint of almond, perfect for pies and desserts.
Ingredients
- 1 lb Cherries, fresh or frozen
- 1/2 cup White granulated sugar
- 1 TBSP Cornstarch
- 1 TBSP Water
- 1/4 tsp Almond extract
Instructions
- Pit the cherries if using fresh ones.
- In a medium saucepan, combine the cherries, sugar, cornstarch, water, and almond extract, mixing well.
- Set the heat to medium and cook until the cherries start to release their juices and soften.
- Mash the cherries to your desired consistency, ideally into a thick compote.
- Continue cooking until the filling thickens, which should yield about 1 1/2 cups of filling.
- Pour the filling into a bowl and allow it to cool completely, refrigerating for faster chilling if desired.
Notes
For a sweeter filling, adjust the sugar amount to taste.
This filling works great not just in pies but also as a topping for ice cream or yogurt.
Nutrition
- Serving Size: 1/4 cup
- Calories: 120
- Sugar: 25g
- Sodium: 5mg
- Fat: 0.5g
- Saturated Fat: 0g
- Unsaturated Fat: 0g
- Trans Fat: 0g
- Carbohydrates: 30g
- Fiber: 1g
- Protein: 1g
- Cholesterol: 0mg