
Cherry Hand Pies

Cherry hand pies are the perfect little pockets of joy, bringing the sweet taste of summer to any time of year. With their flaky pastry enveloping juicy, tart cherries, each bite feels like a mini celebration. While they may remind you of tempting bakery treats, making them at home is simpler than you might think. You get the fun of crafting them and the satisfaction of knowing exactly what’s inside. Plus, they’re fantastic to share around the table or to keep as a delicious snack for yourself!
Table of Contents
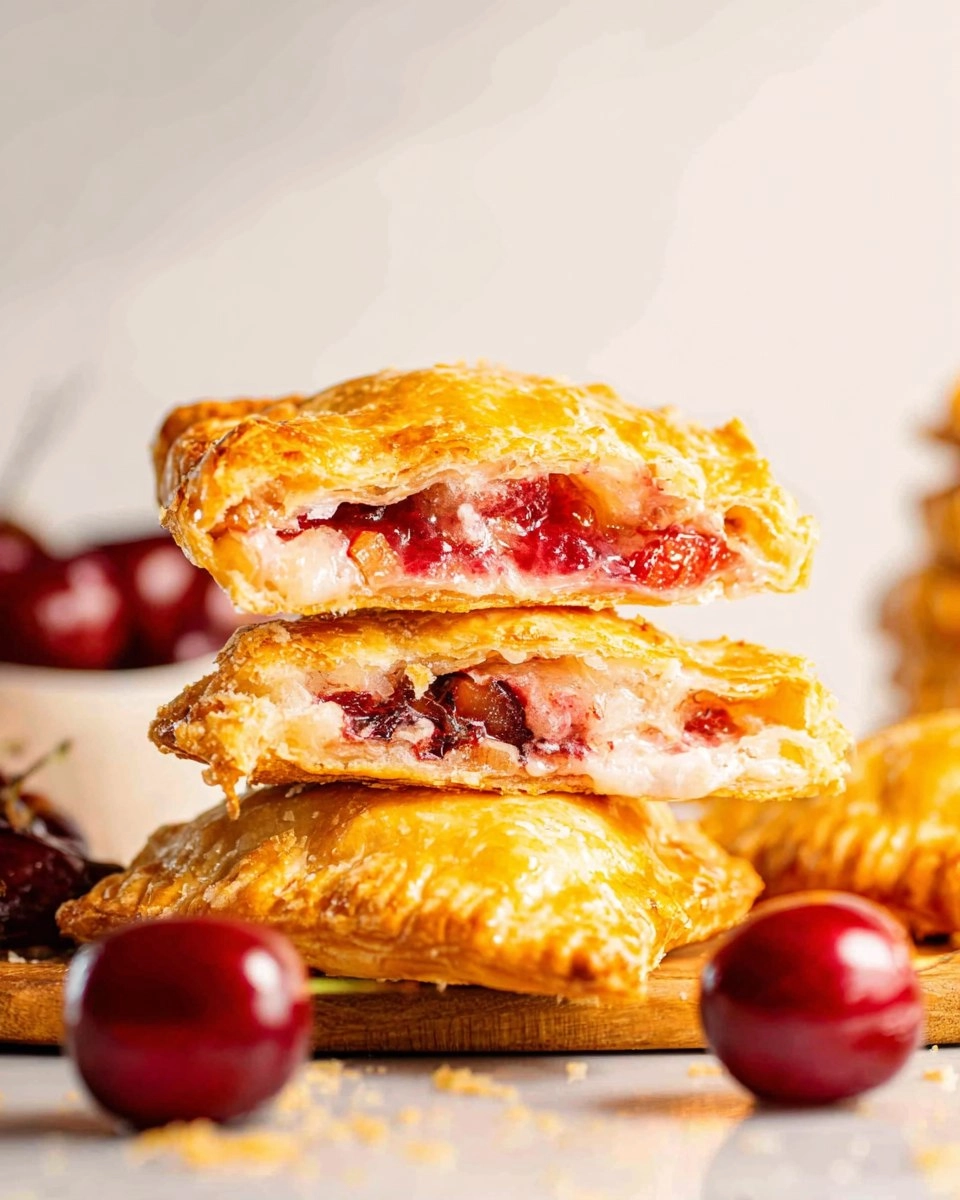
The beauty of cherry hand pies lies not only in their delightful flavor but also their versatile nature. These tasty treats are just as at home on a picnic blanket as they are served warm with a scoop of vanilla ice cream. Whether you’re craving a personal dessert or looking to impress guests at a gathering, this recipe is a wonderful choice. So grab some fresh cherries and let’s get baking!
Why You’ll Love This Recipe
- Simple & Quick: Prep and bake in about 40 minutes—perfect for a last-minute dessert.
- Irresistible Flavor: The combination of sweet cherries and a hint of almond extract is simply heavenly.
- Eye-Catching Appeal: Golden, flaky pastry with a shiny sprinkle of sugar makes them as pleasing to the eye as they are to the palate.
- Flexible Serving: Perfect for any occasion; enjoy them as a dessert, snack, or breakfast treat.
- Diet-Friendly Options: Easily adapt the filling for various preferences, using different fruits or sweeteners.
Ingredients You’ll Need
- 5 ounces fresh cherries: Sweet and tart with naturally juicy flesh. If fresh cherries are out of season, you can use frozen, but make sure to thaw and drain excess liquid.
- 2 tablespoons brown sugar: Adds depth and a subtle caramel flavor that enhances the cherries. Feel free to substitute with granulated sugar, but it will alter the taste slightly.
- 1/2 teaspoon almond extract: This brings a wonderful, nutty aroma that complements the cherries beautifully. Vanilla extract is a great alternative if almond isn’t your favorite.
- 1 teaspoon lemon juice: Brightens up the flavors and balances the sweetness of the cherries. Fresh is best, but bottled lemon juice works too.
- 2 tablespoons cornstarch: Helps to thicken the cherry filling and keep it from becoming too runny. You may substitute with flour if necessary.
- 1 sheet of frozen puff pastry (1/2 of a box), defrosted: This is the foundation of your hand pies, providing that delicious flaky texture. You can use homemade pastry, but frozen saves time.
- 1 large egg yolk: For egg wash, this provides a beautiful golden color on the pastry crust.
- 2 teaspoons heavy cream: Also for the egg wash, it enriches the color and flavor of the crust. If you prefer, you can replace heavy cream with milk for a lighter wash.
- Granulated sugar for sprinkling on top: This not only adds sweetness but also gives that lovely crunchy texture on top of your hand pies.
How to Make Cherry Hand Pies
- Preheat the Oven: Set your oven to 400 degrees F to welcome your delicious hand pies once they’re assembled.
- Prepare the Filling: Pit your 5 ounces of fresh cherries until you have about 1 cup. In a bowl, combine the cherries with 2 tablespoons of brown sugar, 1/2 teaspoon of almond extract, 1 teaspoon of lemon juice, and 2 tablespoons of cornstarch. Stir gently to combine and set this fragrant mixture aside to let the flavors meld.
- Roll Out the Pastry: On a floured counter, unfold the sheet of frozen puff pastry. Roll it out lightly until it expands about half an inch on all sides. Using a 6-inch round cutter, cut two circles from the pastry. Carefully transfer these to a baking sheet lined with parchment paper.
- Fill the Pastries: Divide your cherry filling evenly, placing it on one side of each pastry round, about half an inch from the edge so you have space to seal them.
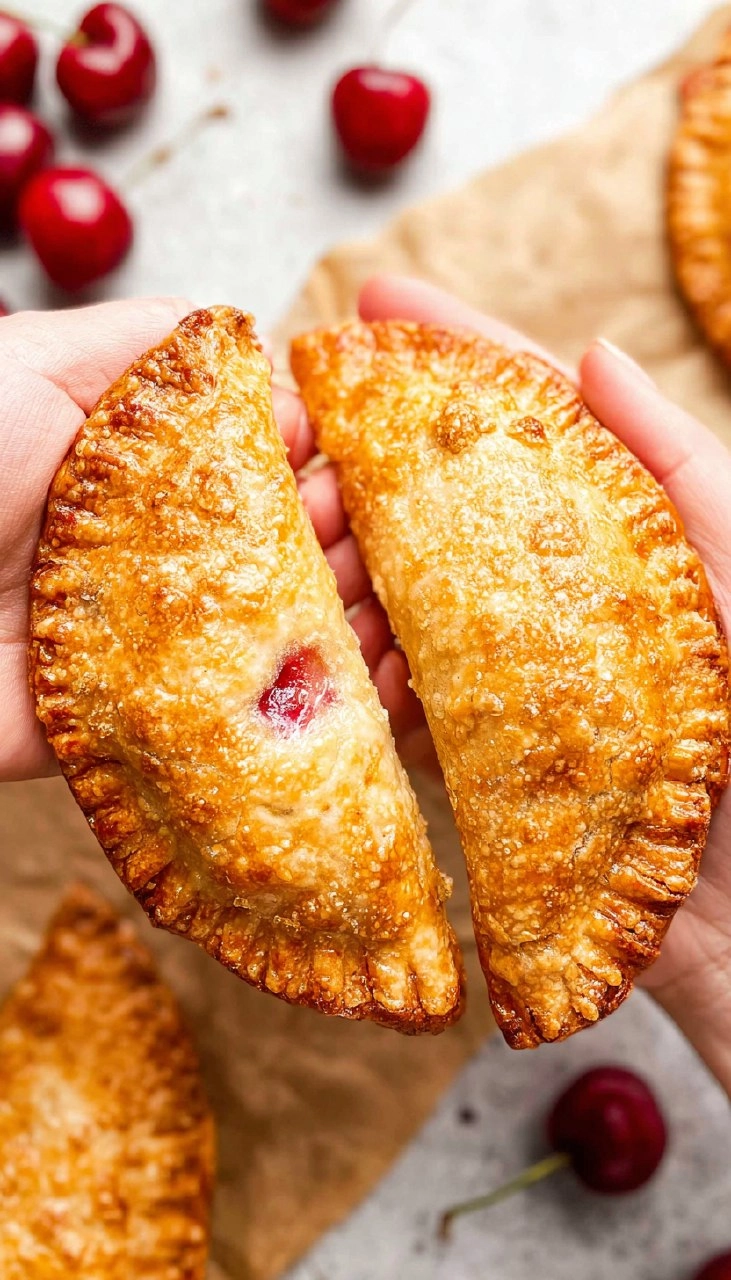
- Seal the Edges: In a small bowl, beat together 1 large egg yolk and 2 teaspoons of heavy cream. Brush this mixture around the edge of the dough circles to help seal them. Fold the pastry over to encase the filling and crimp the edges gently with a fork to create a fun decorative finish. Don’t forget to slice three small slits in the top of each pie for steam to escape.
- Bake: Sprinkle a little granulated sugar on top of each assembled hand pie. Slide them into your preheated oven and bake for 18-21 minutes, until the pastry is golden and puffed up beautifully.
- Cool and Enjoy: Allow the hand pies to cool for about 10 minutes before serving. Resist the urge to bite right in—unless you want a mouthful of hot cherry filling!
Storing & Reheating
To keep your cherry hand pies fresh, store them at room temperature for up to two days in an airtight container. If you want to keep them longer, they can be refrigerated for up to a week. For longer storage, you can freeze them in a single layer on a baking sheet; once frozen, transfer them to a freezer-safe container or bag for up to three months. To reheat, simply pop them in a preheated oven at 350 degrees F for about 10 minutes; this will help refresh the flakiness. Note that if you freeze them, the texture may change slightly upon reheating, but they will still taste delicious!
Chef’s Helpful Tips
- Ensure your puff pastry is thoroughly defrosted before rolling, as this makes it easier to work with.
- Be careful not to overfill your hand pies; this can cause them to burst while baking.
- If the filling is too runny, letting it sit for a few minutes before filling the pastries can help it thicken a bit.
- For an extra pop of flavor, try adding a pinch of cinnamon or a bit of vanilla to the cherry mixture.
- Hand pies can also be made ahead of time and frozen unbaked, so you can bake them fresh whenever you desire!
The beauty of cherry hand pies is that they’re wonderfully adaptable. You can substitute almost any fruit—peaches, blueberries, or apples—with minor adjustments to sugar levels depending on the fruit’s natural sweetness. Don’t hesitate to play around with the fillings and see what delightful combinations you create!
Recipe FAQs
Can I use frozen cherries instead of fresh?
Absolutely! Frozen cherries can be a great substitute. Just thaw them fully, drain any excess juice, and use them just like you would fresh cherries. Keep in mind that frozen cherries may result in a slightly juicier filling, so you may want to adjust the cornstarch accordingly.
How do I know when my pies are done baking?
Your cherry hand pies are ready when they are puffed and golden brown, typically taking about 18-21 minutes. Keep an eye on them towards the end of the baking time to ensure they don’t overbrown. The filling should be bubbling around the edges.
Can I make these hand pies ahead of time?
Yes, you can prepare the hand pies up to the baking stage and keep them in the refrigerator for up to a day or freeze them unbaked for up to three months. Baking from frozen may require an additional few minutes in the oven.
How do I get my hand pies looking shiny?
For that beautiful golden sheen, don’t skip the egg wash! Brushing the edges with the egg yolk and cream mixture before baking will help the crust shine—and give it a lovely color. A sprinkle of sugar on top adds an attractive finish as well.
Enjoy these simple yet delightful cherry hand pies that bring smiles to every occasion! Whether shared with friends and family or savored solo, each bite is a reminder of the joys of home baking. So roll up your sleeves, gather those ingredients, and let the sweet aroma fill your kitchen!
PrintMore Desserts & Appetizers Recipes
- Sugar Cookie Fruit Pizzas
- Peach Bundt Cake
- St. Patrick’s Day Puppy Chow
- Graduation Cap & Diploma Sugar Cookies
- Cinnamon Roll Peach Cobbler
Did You Enjoy Making This Recipe? Please rate this recipe with ⭐⭐⭐⭐⭐ or leave a comment.
📖 Recipe Card

Cherry Hand Pies
- Prep Time: 15 minutes
- Cook Time: 21 minutes
- Total Time: 36 minutes
- Yield: 2 servings 1x
- Category: Desserts & Appetizers
- Method: Baking
- Cuisine: American
Description
These Cherry Hand Pies feature irresistible cherry filling encased in flaky puff pastry. Perfect for a quick dessert or a delightful snack, they’re easy to make and utterly delicious.
Ingredients
- 5 ounces fresh cherries
- 2 tablespoons brown sugar
- 1/2 teaspoon almond extract
- 1 teaspoon lemon juice
- 2 tablespoons cornstarch
- 1 sheet of frozen puff pastry (1/2 of a box), defrosted
- 1 large egg yolk
- 2 teaspoons heavy cream
- granulated sugar for sprinkling on top
Instructions
- Preheat the oven to 400 degrees F.
- Pit the cherries to yield almost 1 cup. In a bowl, mix them with brown sugar, almond extract, lemon juice, and cornstarch. Set aside.
- Flour the counter, unfold the pastry sheet, and roll it out lightly to be about 1/2" larger on all sides. Cut out 2 circles using a 6" round cutter and place them on a parchment-lined baking sheet. Divide the cherry mixture evenly between the circles, placing it on one side of each circle about 1/2" from the edge.
- In a small bowl, whisk together the egg yolk and heavy cream. Brush the edges of the dough circles with this mixture. Fold the dough over and crimp the edges to seal them. Cut 3 slits on top of each pie and sprinkle with sugar.
- Bake the pies for 18-21 minutes until they are golden and puffy.
- Let them cool for 10 minutes before serving.
Notes
For a perfect flaky crust, avoid overworking the puff pastry.
Feel free to experiment with spices like cinnamon for added flavor.
Serve with a scoop of vanilla ice cream for an extra treat.
Nutrition
- Serving Size: 1 hand pie
- Calories: 380
- Sugar: 18g
- Sodium: 250mg
- Fat: 20g
- Saturated Fat: 9g
- Unsaturated Fat: 7g
- Trans Fat: 0g
- Carbohydrates: 43g
- Fiber: 2g
- Protein: 4g
- Cholesterol: 70mg


