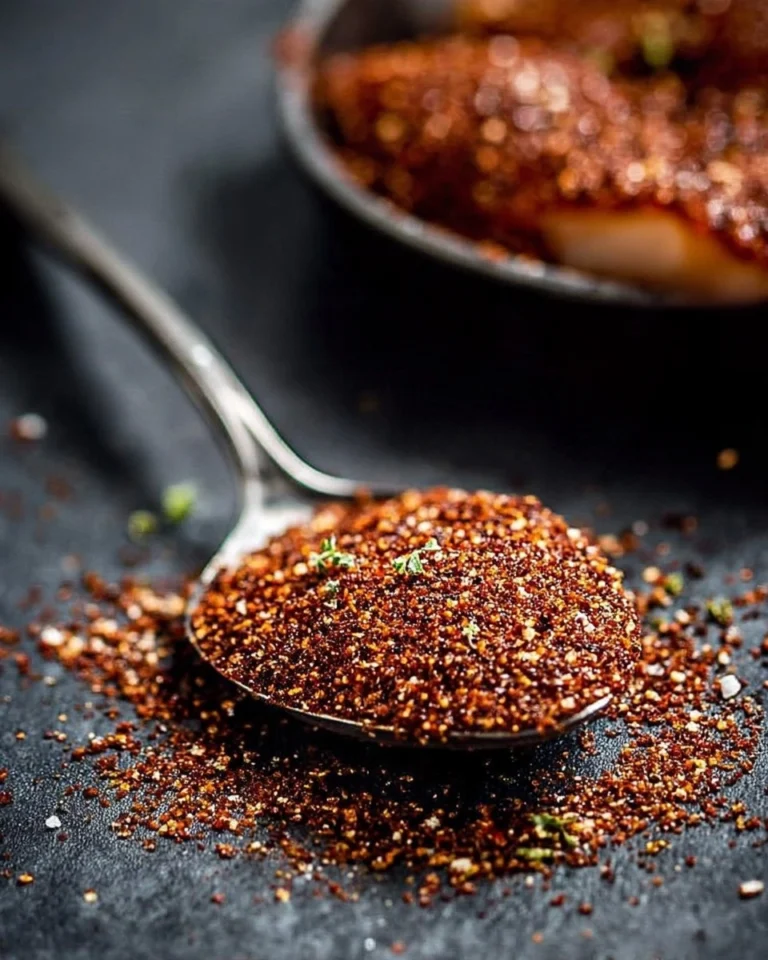
Homemade Garlic Rolls

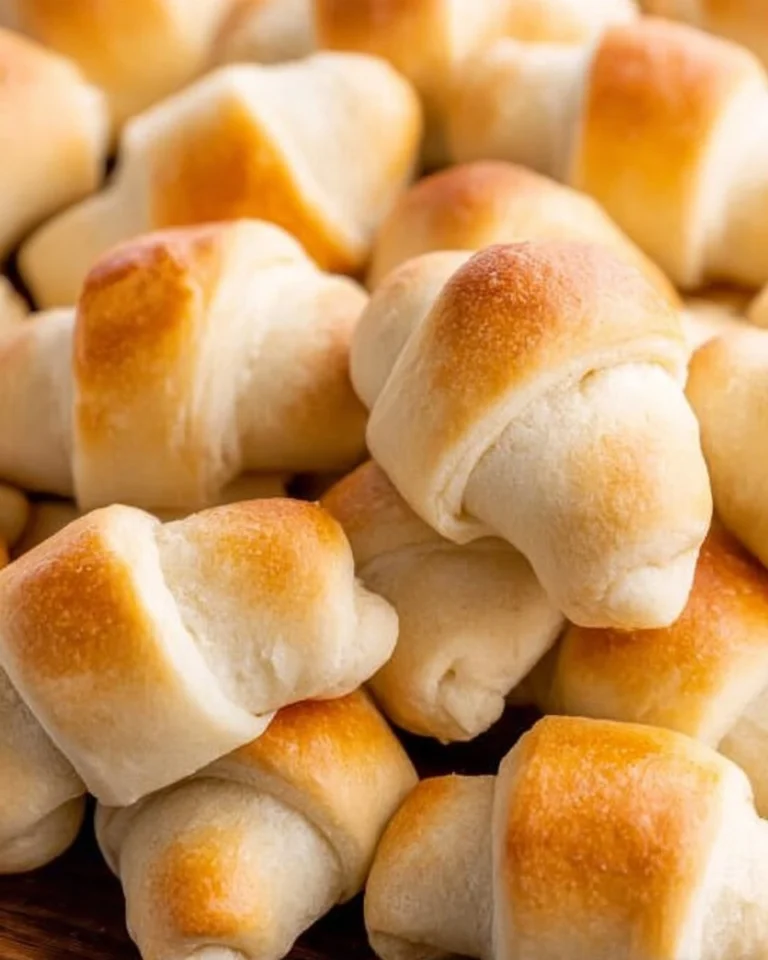
Homemade garlic rolls are the perfect blend of soft, pillowy dough infused with rich, garlicky goodness. These irresistible little bites make a fantastic addition to any meal, whether you’re hosting a cozy dinner, preparing a family feast, or just indulging in a simple snack at home. The aroma of freshly baked garlic rolls wafting through your kitchen is an experience like no other, and trust me when I say, you won’t want to stop at just one!
Table of Contents
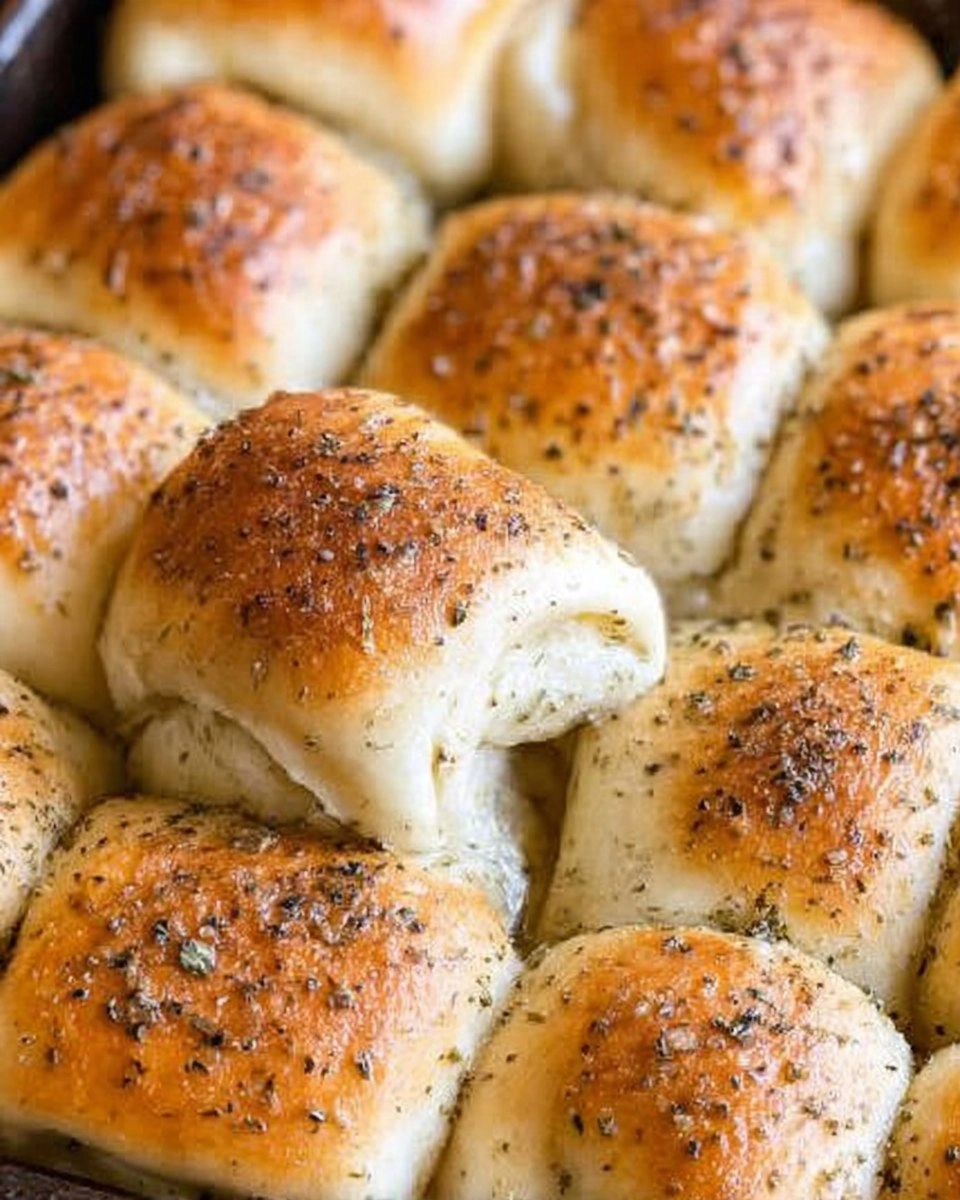
I first stumbled upon the idea of making homemade garlic rolls during a family gathering, where the warm, buttery rolls were a massive hit. Everyone reached for seconds, and I realized how simple and enjoyable they are to make. This recipe not only brings that warm, comforting vibe to your kitchen, but it’s also surprisingly easy and budget-friendly. With a handful of ingredients, you can whip up a batch of these delightful rolls that are sure to round out any meal. Get ready to embrace the joy of homemade garlic rolls, and let’s dive right in!
Why You’ll Love This Recipe
- Simple & Quick: With a prep time of just about 30 minutes (plus rising), you’ll have warm rolls in no time.
- Irresistible Flavor: The blend of garlic and butter creates a savory taste that’s simply mouthwatering.
- Eye-Catching Appeal: Rolled and arranged beautifully, these rolls are sure to impress your guests.
- Flexible Serving: Perfect as a side dish for lunch or dinner, or even as a tasty snack any time of day.
- Diet-Friendly Options: Easily adaptable to fit different dietary preferences by substituting key ingredients.
Ingredients You’ll Need
- 4 ¾ to 5 ¼ cups all-purpose flour: This is the base for your rolls, providing structure. Too much flour can make them dense, so start with the lower amount.
- ⅓ cup granulated sugar: Adds a touch of sweetness to balance the richness of the butter and garlic.
- 2 envelopes instant yeast: This is what makes the rolls rise beautifully; instant yeast is convenient as it doesn’t require proofing.
- 1 ½ teaspoons salt: Enhances all the flavors in your dough, ensuring your rolls are deliciously seasoned.
- ¾ cup milk: Helps to create a soft texture. Use whole milk for a creamier finish or almond milk as a non-dairy alternative.
- ¾ cup water: This hydrates the dough. Warm water helps activate the yeast for optimal rising.
- ¼ cup unsalted butter: Added for richness and flavor. Make sure it’s at room temperature for best mixing.
- 1 large egg: Binds the ingredients and gives a slightly richer flavor.
- ¼ cup melted unsalted butter: To brush over your rolls before and after baking, enhancing that buttery goodness.
- 1 teaspoon Italian seasoning: Adds a lovely herby flavor to your garlic rolls.
- ½ teaspoon garlic powder: Boosts the garlic flavor, making them irresistibly aromatic.
How to Make Homemade Garlic Rolls
- Mix the Dry Ingredients: In a large mixer bowl, combine 2 cups of all-purpose flour, ⅓ cup granulated sugar, 2 envelopes of instant yeast, and 1 ½ teaspoons of salt. Whisk together until well combined.
- Prepare the Wet Ingredients: In a measuring cup, mix ¾ cup of milk, ¾ cup of water, and ¼ cup of unsalted butter. Heat in the microwave until warm to the touch (around 120°F to 130°F).
- Combine Everything: Pour the warm liquid into the dry ingredients. Using an electric mixer, beat on medium speed for 2 minutes, scraping down the bowl occasionally.
- Add the Egg and More Flour: Add in 1 large egg and ½ cup of flour. Beat on high speed for another 2 minutes until the mixture is smooth.
- Create the Dough: Gradually stir in enough of the remaining flour to form a soft dough. It should be slightly sticky but manageable.
- Knead the Dough: Transfer the dough to a floured surface and knead for 8 to 10 minutes until it becomes smooth and elastic. It’s ready when it springs back when lightly pressed.
- First Rise: Cover the dough with a towel and let it rest for 10 minutes. If you prefer to make it ahead, place the dough in a greased bowl, cover, and refrigerate for 12 to 24 hours.
- Shape the Rolls: Once ready, divide the dough in half and roll each half into a 12-inch square at about ¼-inch thickness. Cut each square into 6 strips and each strip into 3 rectangles.
- Prepare the Filling: In a small bowl, mix together the melted butter, 1 teaspoon of Italian seasoning, and ½ teaspoon of garlic powder.
- Form the Rolls: Brush each rectangle with the melted butter mixture, fold, and roll into a spiral. Arrange the rolls slightly overlapping on greased baking sheets with the seam side down. Leave a ¼-inch space between each row and reserve any leftover butter.
- Second Rise: Cover and let the rolls rise in a warm place until doubled in size, about 30 minutes.
- Preheat the Oven: While the rolls are rising, preheat your oven to 400°F.
- Bake: Bake the rolls for 13 to 15 minutes or until the edges are golden and the rolls sound hollow when tapped on the bottom.
- Butter the Rolls: Remove from the baking sheet and cool on a wire rack. Brush the hot rolls with the remaining melted butter mixture.
- Enjoy: Store any leftovers in an airtight container for up to 2 days.
Storing & Reheating
Keep your homemade garlic rolls at room temperature, securely wrapped, for up to two days to maintain their softness. If you wish to store them longer, refrigerate in a sealed container for about a week. For longer storage, freeze the rolls in an airtight bag for up to three months. To reheat, simply pop them in a preheated oven at 350°F for about 5-10 minutes or until warmed through, and enjoy that just-baked taste again!
Chef’s Helpful Tips
- Avoid Over-Kneading: Knead just until the dough is smooth; overworking can lead to tough rolls.
- Temperature Matters: Ensure your eggs and butter are at room temperature for better incorporation.
- Don’t Skip the Rises: Allowing the dough to rise properly is crucial for softness; it helps develop the flavor too.
- Flour Adjustments: The dough should be soft and slightly tacky. Adjust flour as needed based on humidity.
- Make-Ahead Magic: The overnight rise in the fridge makes the process less hectic on the day of serving!
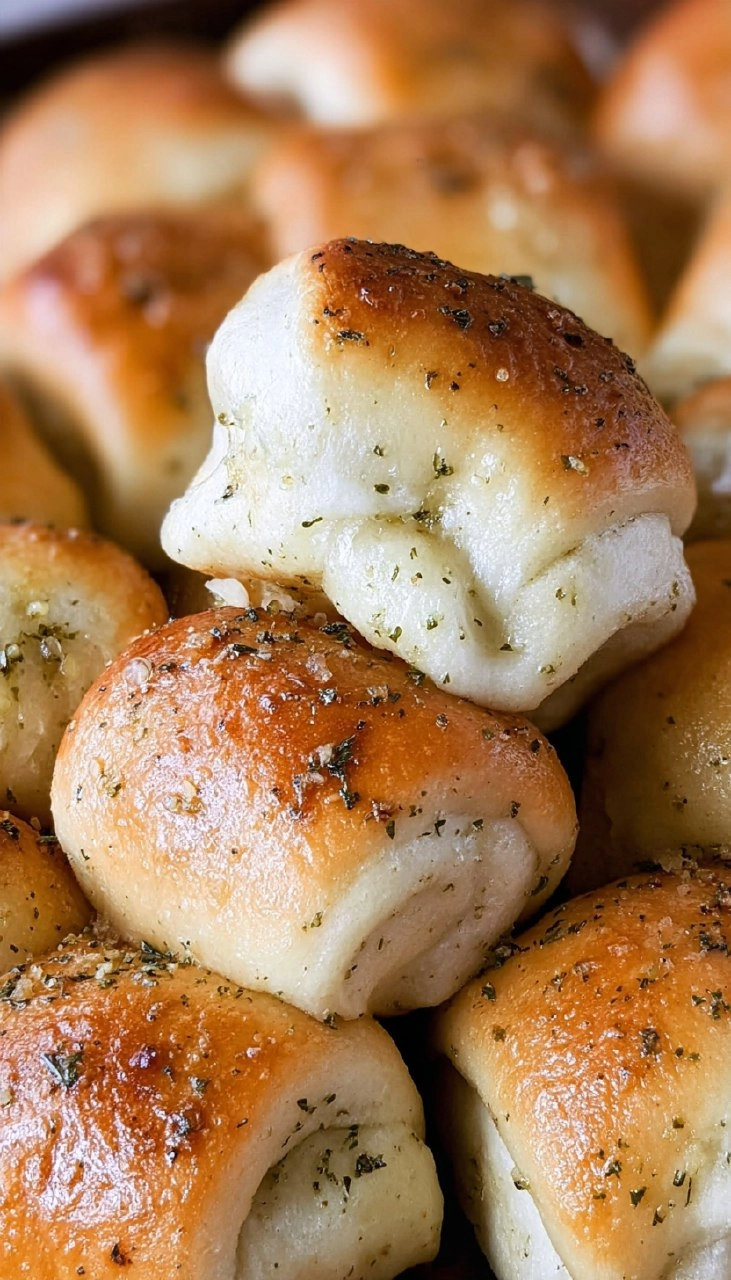
Baking these homemade garlic rolls will bring a cozy touch to your kitchen and make your family feel special, while also tantalizing your taste buds. Try this recipe, add your spin, and you might just end up with a new family favorite. Get ready to share good times around the table, as these rolls will surely bring smiles to faces!
Recipe FAQs
Can I use whole wheat flour instead of all-purpose flour?
Absolutely! You can substitute part of the all-purpose flour with whole wheat flour for a nuttier flavor and extra fiber. Just keep in mind that whole wheat flour can absorb more liquid, so you might need to adjust the amount of milk and water accordingly.
How do I know when the rolls are perfectly baked?
The rolls are done when they have a light golden-brown color and sound hollow when tapped on the bottom. If you’re unsure, stick a toothpick in the center; it should come out clean.
What can I do with leftover garlic rolls?
Leftover garlic rolls make a delicious addition to soups or salads, or you can turn them into garlic roll sandwiches. Simply slice them open, fill them with your favorite deli meats or spreads, and enjoy a unique twist!
Can I make these rolls dairy-free?
Yes, you can easily make these rolls dairy-free by using plant-based milk and dairy-free butter. The flavor may slightly alter, but they’ll still be wonderfully tasty!
PrintMore Main Dishes Recipes
- Deconstructed Egg Rolls
- Grilled Chicken Sandwiches | Juicy Summer BBQ Lunch for a Crowd
- Cheesy Garlic Dinner Rolls
- Easy Vegan Stuffed Cabbage Rolls
- Pizza Roll-Ups
Did You Enjoy Making This Recipe? Please rate this recipe with ⭐⭐⭐⭐⭐ or leave a comment.
📖 Recipe Card
Homemade Garlic Rolls
- Prep Time: 30 minutes
- Cook Time: 15 minutes
- Total Time: 45 minutes
- Yield: 36 rolls 1x
- Category: Main Dishes
- Method: Baking
- Cuisine: American
Description
These Homemade Garlic Rolls are a delightful blend of flavors and comforting textures. They are quick to prepare and perfect for any meal, featuring a simple dough made from basic ingredients like flour, butter, and Italian seasoning. Whether at a family dinner or a casual gathering, these rolls will surely be a favorite!
Ingredients
- 4 ¾ to 5 ¼ cups (589-651g) all-purpose flour
- ⅓ cup (67g) granulated sugar
- 2 envelopes instant yeast
- 1 ½ teaspoons salt
- ¾ cup (177ml) milk
- ¾ cup (177ml) water
- ¼ cup (57g) unsalted butter
- 1 large egg
- ¼ cup (57g) unsalted butter, melted
- 1 teaspoon Italian Seasoning
- ½ teaspoon garlic powder
Instructions
- In a large mixer bowl, combine 2 cups of flour, sugar, yeast, and salt; whisk to mix.
- Heat milk, water, and ¼ cup butter in a measuring cup until warm (120° to 130°F).
- Add the warm mixture to the flour ingredients and beat for 2 minutes at medium speed, scraping the bowl occasionally.
- Incorporate the egg and ½ cup flour, then beat on high speed for 2 minutes.
- Stir in enough remaining flour to create a soft, slightly sticky dough.
- Knead the dough on a floured surface until smooth and elastic, about 8 to 10 minutes. The dough should spring back when touched.
- Cover the dough and let it rest for 10 minutes.
- For advance preparation, place dough in a greased bowl, cover, and refrigerate for 12 to 24 hours.
- Divide the dough in half and roll each half into a 12-inch square, about ¼-inch thick.
- Cut each square into 6 strips and then each strip into 3 rectangles.
- Mix filling ingredients in a small bowl.
- Brush each rectangle with the melted butter mixture, fold, and roll into a spiral. Arrange on greased baking sheets, ensuring a little space between each row.
- Cover and let rise in a warm area until doubled in size, about 30 minutes.
- Preheat your oven to 400°F.
- Bake the rolls for 13 to 15 minutes until golden brown. Transfer to a wire rack and brush with remaining butter mixture.
- Store in an airtight container for up to 2 days.
Notes
For a richer flavor, consider adding minced garlic to the melted butter before brushing on the rolls.
These rolls can be frozen; simply reheat in the oven before serving.
Ensure the dough is in a draft-free area while rising for the best results.
Nutrition
- Serving Size: 1 roll
- Calories: 130
- Sugar: 1g
- Sodium: 150mg
- Fat: 4g
- Saturated Fat: 2g
- Unsaturated Fat: 1g
- Trans Fat: 0g
- Carbohydrates: 22g
- Fiber: 1g
- Protein: 3g
- Cholesterol: 25mg