How To Make A Pie Crust Shield

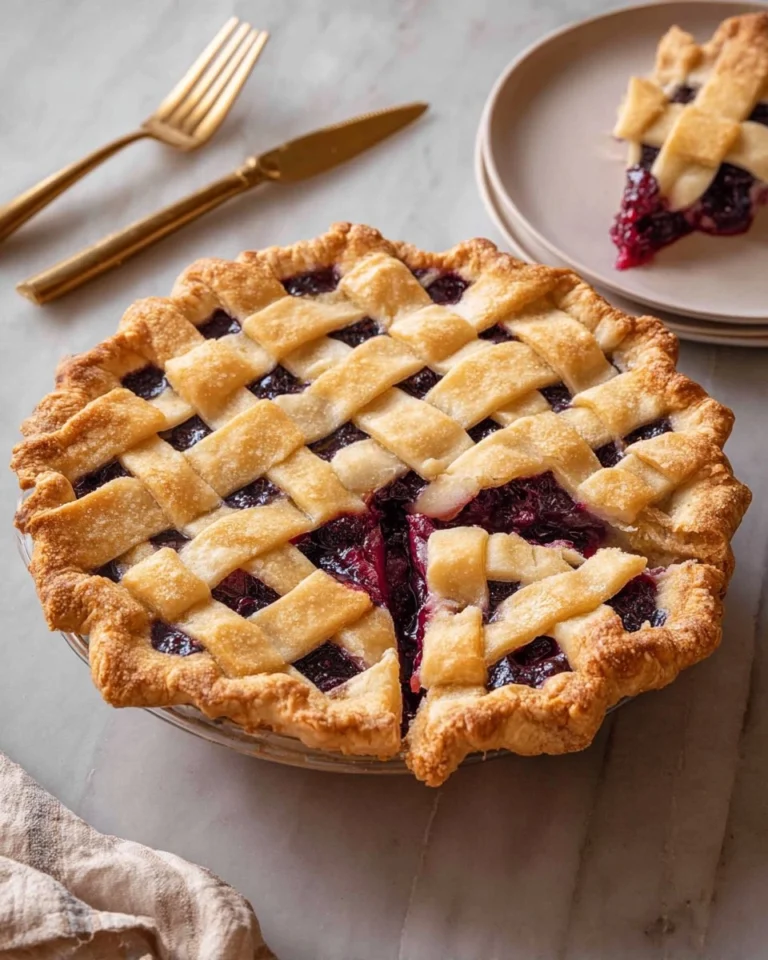
Making a pie is such a joyous occasion, isn’t it? The way that crust turns golden as it bakes, the aromatic spices fill the air, and the anticipation of that first warm slice fills your heart with happiness. But here’s something we often overlook—the pie crust edges can get too brown or even burn before the filling is done. For that reason, using a pie crust shield is essential! Learning how to make a pie crust shield ensures that your beautiful pie crust can stay perfectly golden while the filling remains bubbling and delicious.
Table of Contents
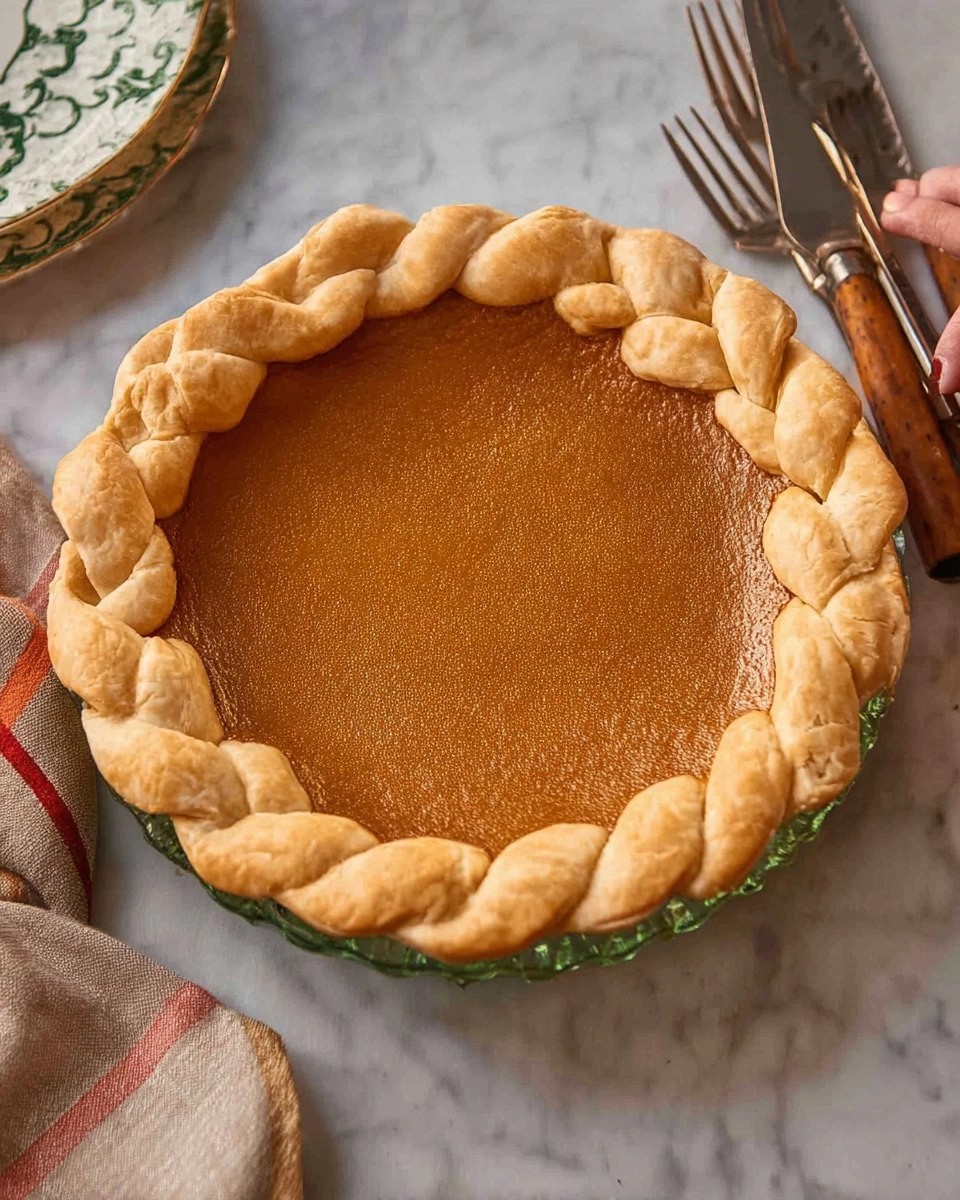
There’s something incredibly satisfying about crafting your pie from start to finish, and knowing the little tricks to help it shine is what makes it all the more enjoyable. Ever since I first made a homemade pie, I’ve been intrigued by the artistry behind achieving that perfect balance between a crispy crust and a delectable filling. Trust me, this simple aluminum foil solution will elevate your pie-baking game. So, grab your aluminum foil and let’s dive into how to make a pie crust shield that will protect your creation!
Why You’ll Love This Recipe
- Simple & Quick: With just one ingredient and a few easy steps, you’ll have this shield made in under 10 minutes.
- Prevents Burnt Edges: It keeps the edges of your crust perfectly protected from burning, letting your pie crust look flawless.
- Saves Your Pie: Extend the life of your delicious pie while you focus on that gooey filling, ensuring everything bakes just right.
- Budget-Friendly: All you need is some aluminum foil; no fancy tools or equipment required.
- Flexible Use: Perfect for any pie, whether you’re baking sweet or savory fillings!
Ingredients You’ll Need
- Aluminum foil: A simple yet essential ingredient that you need to create your pie crust shield. Make sure it’s strong enough to hold its shape when folded. If you prefer, you could use parchment paper in a pinch.
How To Make A Pie Crust Shield
Cut the Strips: Start by cutting two to three long strips of aluminum foil, each about 12 inches long. The foil should be easy to handle, so a bit of care when cutting will ensure clean edges.
Fold the Strips: Fold each strip in half lengthwise. This added thickness will provide better coverage, so don’t skip this step!
Attach the First Strip: Press one of the folded strips against the side of your pie plate. The aim is to cover a portion of the edge of the crust adequately. Make sure it aligns nicely with the curve of your pie plate.
Continue Adding Strips: Repeat the previous step with the additional strips of foil. Overlapping a bit ensures complete coverage. Depending on the depth of your pie crust, you might need one more.
Create the Shield: Take a piece of foil large enough to cover the entire pie—a square about 12 inches should work well. Fold it in half, then fold it in half again to create a smaller square.
Form the Triangle: Fold the foil in half diagonally creating a triangle shape. This will help you craft the shield around your pie.
Cut for the Center: Measure about 4 inches up from the folded point and make a careful, curved cut from edge to edge to remove the tip. This should create a circle in the center that’s about 8 inches in diameter, perfect for your pie.
Place it on the Pie: Unfold the foil shield and place it gently over the pie, ensuring the center remains exposed while the edges are protected. Tuck the excess foil down around the sides of the pan, creating a protective barrier that shields those browning edges.
Storing & Reheating
To store any leftover pie, place it in an airtight container at room temperature if you plan to eat it within a day. Otherwise, refrigerate it for up to three days. If you’d like to keep it longer, wrap the pie tightly in aluminum foil or plastic wrap and freeze for up to three months. To reheat, simply place the frozen pie in a preheated oven at 350°F (175°C) and bake for about 20–25 minutes, or until warmed through, remembering that the texture may not be as crisp as the first day.
Chef’s Helpful Tips
- Avoiding Overflow: If your pie might overflow, lay a baking sheet on the rack below to catch any drips.
- Cool Your Crust: For best results, allow your pie to cool completely before slicing to avoid a soggy crust.
- Experiment: Don’t hesitate to personalize your shield by using patterned foil for a bit of flair or double layering for extra protection!
- Keep It Flexible: If you find the edges browning too quickly, use a lighter or thinner foil for better coverage.
Nothing quite beats the joy of seeing and tasting your pie come to life, especially when you know you’ve taken the precaution to keep it looking its best. Baking may have its challenges, but a little preparation, like making a pie crust shield, goes a long way in creating those picture-perfect moments.
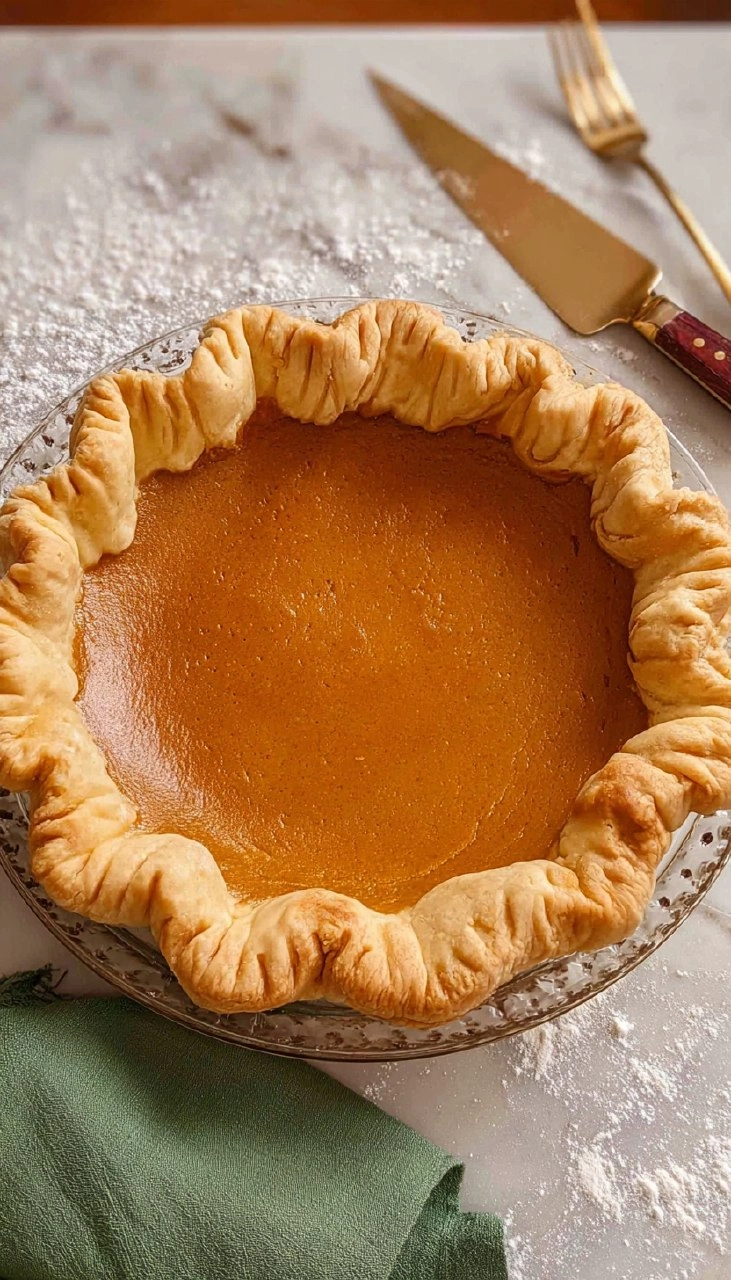
As you explore this method, I encourage you to experiment with different pie recipes – be it classic apple, creamy custards, or savory quiches. The more you practice, the more confident you’ll become in baking, and who knows, you might even create a pie that’s the star of your next family gathering!
Recipe FAQs
How do I know when my pie is done?
Keep an eye on the filling of your pie. When it’s bubbling and the crust is golden brown, you know it’s time to take it out. Some recipes may call for a toothpick test to check the filling’s texture, especially for fruit pies.
Can I re-use the pie crust shield?
You can! The aluminum foil is easily washable; however, if it has lost its shape or any tears, it’s best to craft a new one for your next baking adventure.
What other materials can I use for a pie crust shield?
If you have a pie crust shield made specifically for this purpose, you can use that instead! Parchment paper can also work if you shape it similarly, although it may not be as effective as aluminum foil.
Is it okay to leave the foil on while baking the pie?
Yes! Leaving the foil on during baking is essential for protecting the crust edges from burning. Just remember to remove it during the last few minutes of baking if you want the edges to crisp up a bit more.
With these tips and techniques handy, go on and start baking with confidence! A beautifully protected pie crust is just a few simple steps away, and soon enough, you’ll be serving up perfect pies that everyone will love. Enjoy!
PrintMore Desserts & Appetizers Recipes
Did You Enjoy Making This Recipe? Please rate this recipe with ⭐⭐⭐⭐⭐ or leave a comment.
📖 Recipe Card
How To Make A Pie Crust Shield
- Prep Time: 10 minutes
- Cook Time: 15 minutes
- Total Time: 25 minutes
- Yield: 1 pie crust shield 1x
- Category: Desserts & Appetizers
- Method: Baking
- Cuisine: American
Description
This pie crust shield is a simple solution to keep your pie crust edges from burning. With just aluminum foil and easy steps, you can ensure even baking for your delicious pies. Perfect for anyone aiming for homemade perfection!
Ingredients
- 2–3 long strips aluminum foil, each about 12 inches
Instructions
- Cut two to three long strips of foil, around 12 inches each.
- Fold the strips in half lengthwise.
- Press one strip of foil against the side of the pie plate to cover part of the crust edge.
- Repeat with another strip of foil.
- Continue until the entire edge of the pie crust is covered with foil strips, leaving the center mostly uncovered.
Notes
Ensure the strips are long enough to cover the edges completely.
This method is quick and keeps the crust looking golden while baking.
Nutrition
- Serving Size: 1 pie crust shield
- Calories: 50
- Sugar: 0g
- Sodium: 5mg
- Fat: 1g
- Saturated Fat: 0g
- Unsaturated Fat: 0g
- Trans Fat: 0g
- Carbohydrates: 10g
- Fiber: 0g
- Protein: 1g
- Cholesterol: 0mg